

Installation Guides & Safety Manuals
2026年2月2日
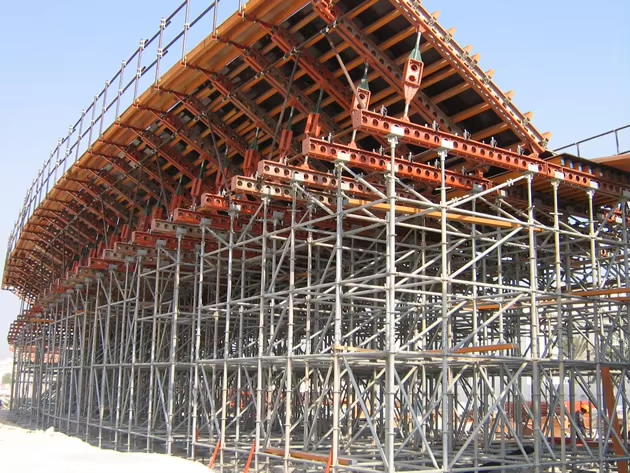
How to Install Ringlock Scaffolding: Step-by-Step Safety Guide
Safety Starts with Correct Assembly Even the best equipment fails if installed incorrectly. This guide outlines the standard operating procedure (SOP) for erecting a Ringlock tower, ensuring complianc
Safety Starts with Correct Assembly
Even the best equipment fails if installed incorrectly. This guide outlines the standard operating procedure (SOP) for erecting a Ringlock tower, ensuring compliance with safety regulations.
Phase 1: Foundation & Base
- Site Prep: Ensure the ground is compacted and level.
- Positioning: Place Adjustable Base Jacks according to the layout plan.
- Leveling (Crucial): Adjust the jack nuts so all bases are on the exact same horizontal plane. The screw extension should be ≤300mm.
Phase 2: The Base Collar & Sweeping Pole
- Insert the Base Collar (Starting Pole) into the jack.
- Install the "Sweeping Pole" (Horizontal Ledger) immediately.
- Rule: The distance from the ground to the sweeping pole must be ≤550mm. This locks the base geometry.
Phase 3: Vertical Growth & Bracing
- Stacking: Insert vertical standards. Check for full insertion.
- Diagonal Bracing (The Stabilizer):
- Height ≤8m: Install vertical diagonal braces on all outer facades. Internal braces every 5 spans.
- Height >8m: Requires denser bracing (Consult JGJ231 norms).
Phase 4: Top Support & Inspection
- Install the U-Head Jack to hold the beams.
- The "650-400" Rule:
- Cantilever length (free end) must be ≤650mm.
- Screw extension must be ≤400mm.
Safety Checklist: Do NOT Do This!
- ❌ No Mixing: Do not mix Ringlock components with other scaffold types (like Cuplock).
- ❌ No Throwing: Never throw components from height during disassembly.
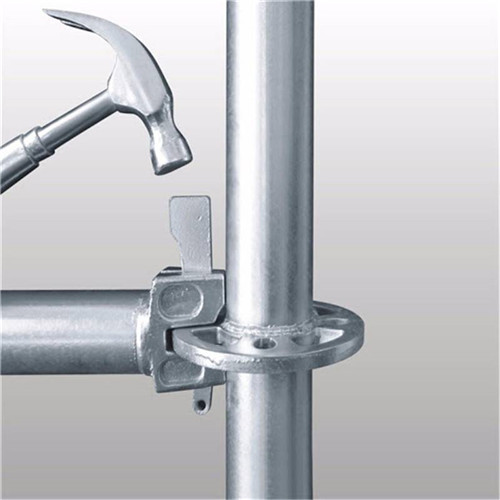
- ❌ Check the Weld: Ensure welding joints on the rosettes are full and intact before use.